For a while now, I’ve fancied having a nice little bistro-style table to go on the patio in my garden but was unable to find anything that I liked. As I had a some 7ft scaffold planks left over from building some raised beds, I decided to use one of those and make my own table top. At this point, the plan was to use a standard table base and just make my own top, but more on that later.
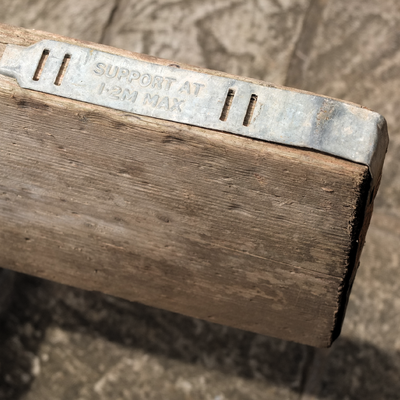
Now scaffold planks aren’t exactly high quality building materials as they will be bettered, bent and probably covered in building dust. Here’s the one I started with:
The first job is to remove the protective metal straps at either end of the board. They’ll probably be held in with half a dozen nails and can be pried free quite easily:
Now as any skilled woodworker will tell you, it’s important to properly prepare your timber for the job in hand. So you’ll want to pass the plank through a thickness planer to get rid of any bowing and then ensure the sides are straight and true by carefully planing them with a jointing plane.
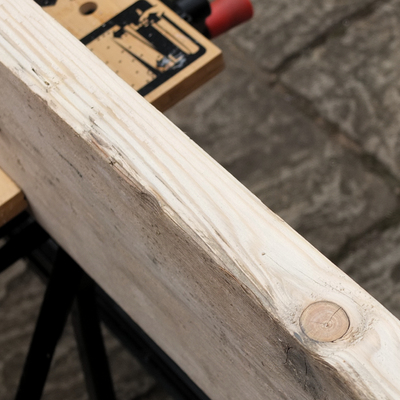
Or, if you’re me just bung the plank in to your workmate and attack the edges with your electric plane and hope for the best:
Next, you’ll want to cut your plank to size. You’ll need to measure the width of the planed board and multiply this appropriately so you get three sections, resulting in a square table top. My table top measures 60cm square which is a nice size for a table for two people to sit in the sun on the patio enjoying a nice cool drink… Anyway, once you’ve cut the board, you’ll end up with something like this:
I chose to use dowel joints to fix my boards together. This is a simple case of drilling holes in each plank, sitting the dowel markers in the holes then offering up the next plank for marking so you know where to drill. There are a number of dowel jointing kits and jigs available that make this easier/more accurate.
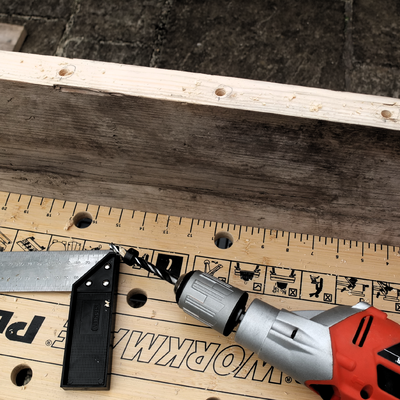
The first step is to drill your holes. I’m using 8mm dowels so that means (amazingly) an 8mm wood drill bit, fitted with a depth stop:
Then fit the spiked metal markers into the holes:
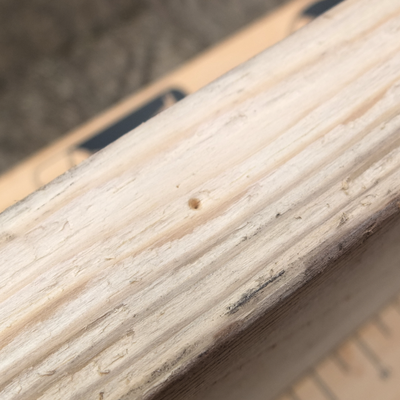
Next, you offer up the next board and press it firmly against the markers. You’ll end up with a series of dimples in the board that show where you need to drill. This will ensure that your holes line up nicely:
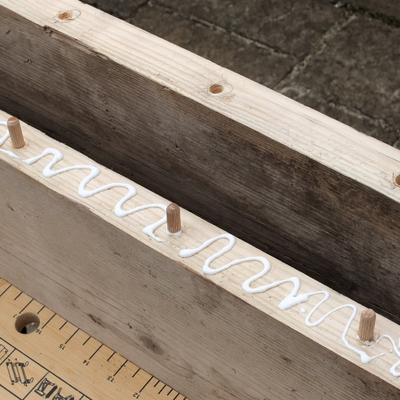
The next stage is to liberally apply wood glue to the holes and the sides of each board, sit the dowels in place then push the various boards together:
Finally, clamp it all together and leave to dry overnight:
I’ll be writing up what I did for the base and how I attached the top in later posts.

